I wanted to play with some slip-stitch patterns so I pulled from my stash a wide range of colors and settled in for figuring out a scarf striped the long way. Here's what I started with: | 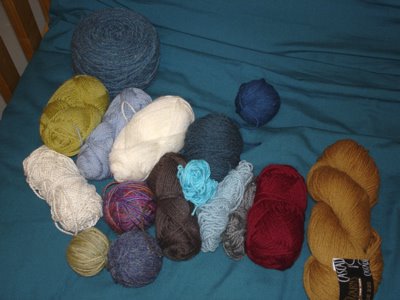 |
And here's my practice swatch: I played with when to change colors, when to slip, and when to knit. Once I was satisfied with a given look I cast on 300 stitches and got to work. | 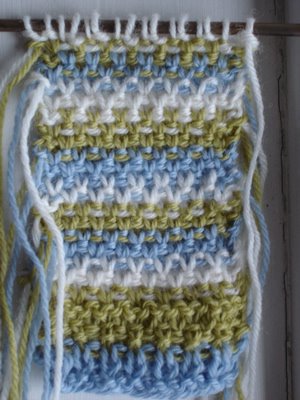 |
I'm really happy with the outcome. Wool got used up and I love how the colors came together. The slip stitch pattern gives the scarf a woven look, with both sides looking good (and, the weave allows the scarf to lay flat). |  |
Here's a close-up: | 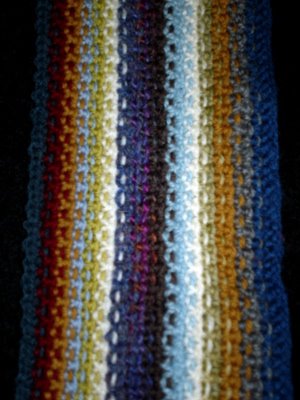 |
And here's how to make your own Stash-busting Scarf:
CO an even number of stitches for the length of your scarf. (Swatch first and measure your gauge in pattern, as a slip-stitch pattern tends to be narrower than plain stockinette.)
Beginning with color #1,
(RS) K across
(WS) K across
then begin the slip-stich pattern:
(RS) K, *sl1 with yarn in front, K*, K
(WS) K, *sl1 with yarn in front, K*, K
Thereafter, on RS rows you knit the purls and slip the slips from the previous row
& on WS rows you knit the slips and slip the purls from the previous row,
always knitting the first and last stitches of every row and always slipping with the yarn in front.
Change colors at the beginning of a RS row, knitting the first stitch with both colors. Just remember to treat that stitch as one stitch on the return row. I changed colors every four rows; you could change colors less often but I found the weave looks best with at least four rows per color.
2 comments:
i just love the look of that scarf! great idea!
Post a Comment